1. Thermal Imaging
  2. Applications
  3. Active Thermography

Active Ther­mo­graphy

Various methods of active thermography like Lock-In Thermography and Pulse Phase Thermography are imaging procedures that perfectly suit for contact-free and non-destructive material testing. In connection with high-resolution infrared cameras, they allow for quick detection of material defects and open up new possibilities in research, development and quality assurance.

Analysis of a Carbon Composite (CFC) using Lock-in Thermography
E-LIT watch the Video
training about active thermography
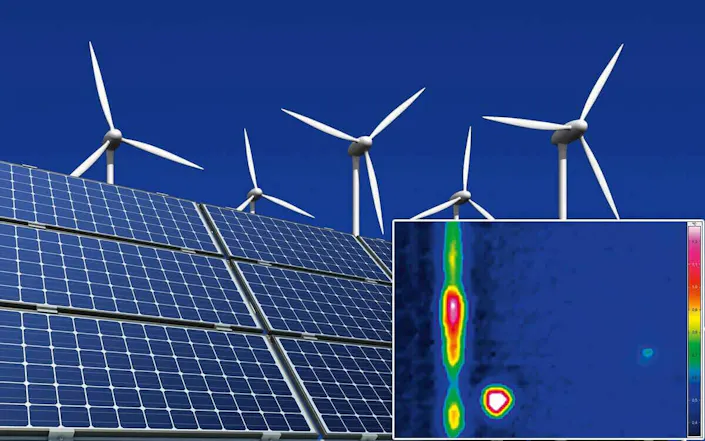
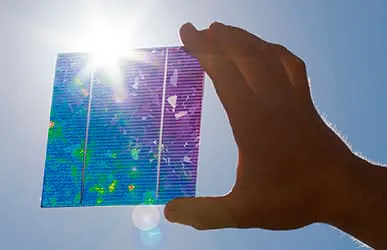
Active thermography for photovoltaic installations - Image verification: visdia fotolia.com
Active thermography in the production of CFC plates
Active thermography software IRBIS 3
0 | 6

Active Ther­mo­graphy for Non-Destructive Material Testing
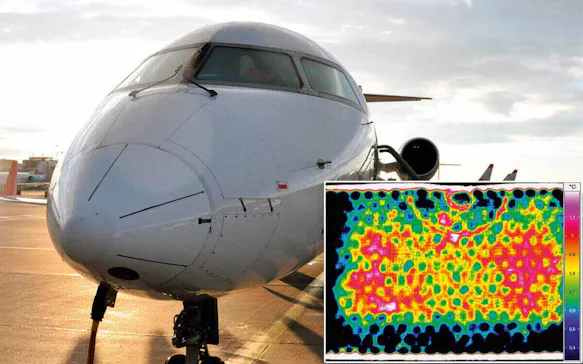
Active thermography for aircraft engineering - Picture Credits: © Jaros / Fotolia.com

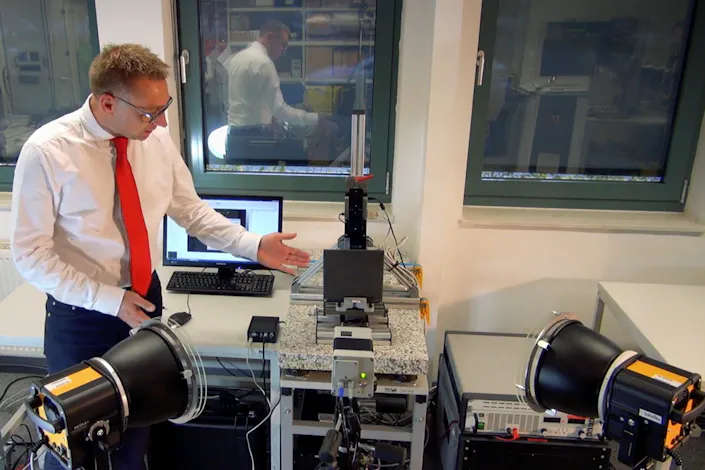
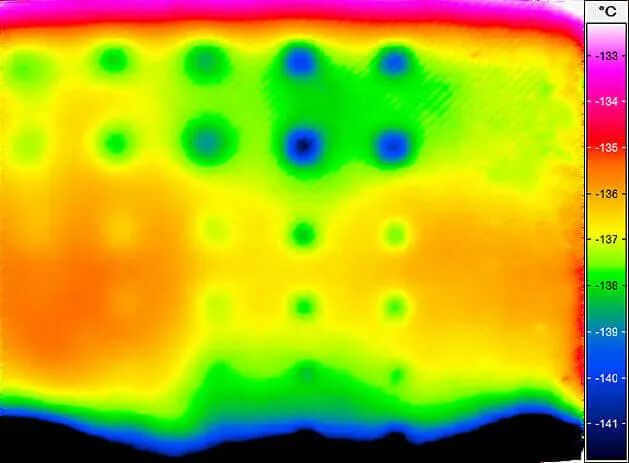
Active thermography is the induction of a heat flow by energetically exciting a test object. The heat flow is influenced by interior material layers and defects. These inhomogeneities can be captured on the surface by high-precision infrared cameras. The additional application of different evaluation algorithms improves the signal-to-noise-ratio which allows for detection of smallest defects.

Modular System Design for Precisely Fitting Inspec­tions

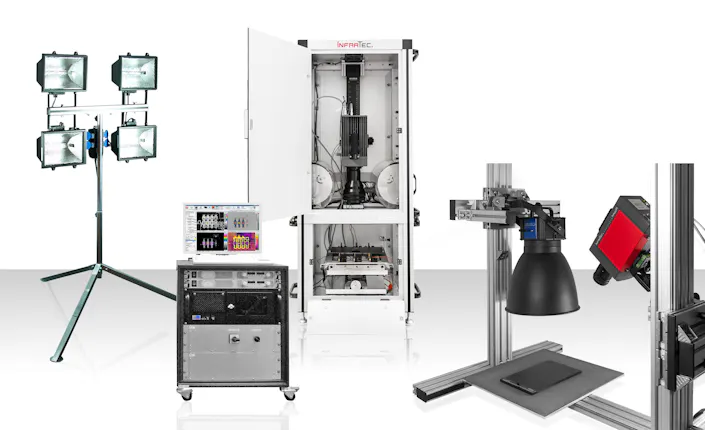
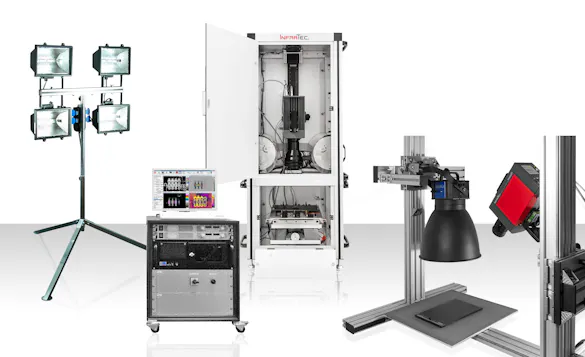
The versatile application options of active thermography require an elaborate configuration of every single inspection system. InfraTec offers a wide variety of necessary components along with a modular system architecture. The high-resolution infrared cameras, efficient control and evaluation software as well as the continuously operable excitation sources and controllers are interchangeable within the system and therefore allow a flexible adaptation to upcoming requirements.

Defect-specific Excit­a­tion Sources and Control­lers

Different types of defects of various materials can be detected by utilising specific energetic excitation units. InfraTec chooses the suiting excitation source, such as high-performance flashes, inductive units, hot- and cold air blowers and homogeneous halogen radiators, for the respective test situation.

Event On Demand

Effi­cient Material Testing – Non-destructive and Contact­less

  • Theoretical background – mechanical force, stress and temperature Methods for analysis

  • Examples from practice with application samples – elastic periodical load test and fatigue test

  • Short overview about InfraTec products

Request Recording

Material testing, stress test with thermal cameras from InfraTec - Picture credits: © iStock / kimtaro
Event On Demand

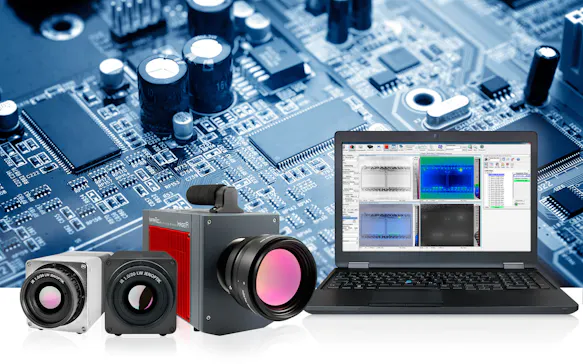
Infrared Lock-in Ther­mo­graphy for Inspec­tion of Elec­tronics and Integ­rated Circuits

  • Failure analysis and defect inspection, quality and process control and flexible R&D solution

  • Hotspot detection on printed circuit boards, integrated circuits, semiconductor material and multi-chip modules

  • Detection of faulty thermal connections of heat sinks, short circuits, soldering defects and wire bonding errors

Request Recording

InfraTec Webinar: Infrared Lock-in Thermography for Inspection of Electronics and Integrated Circuits - Picture credits: © iStock.com / scorpp
Event On Demand

Thermography and Digital Image Correlation – A Winning Team in the Materials and Components Testing Field.

  • Active thermography for non-destructive testing

  • Synchronizing high-tech sensors: ZEISS/GOM ARAMIS and infrared cameras from InfraTec

  • Tracking of temperature on homologous points in 3D space

  • Applications in materials, components and electronic testing

Request Recording

Online Event - Thermography and Digital Image Correlation

Asso­ci­ated Ther­mo­graphic Auto­ma­tion Solu­tions

E-Lit Cabinet from InfraTec for Infrared Thermography
Non-destructive Testing

Electronic / Semiconductor Testing – E-LIT

Detect inhomogeneous temperature distribution and local power loss during the production using the Lock-in Thermography.

PV-LIT test solution for solar cells
Non-destructive Testing

Photovoltaic Test System – PV-LIT

Get advantages in costing and quality by non-contact thermographic testing of your solar cells and PV-modules.

WELD-CHECK by InfraTec
Non-destructive Testing

Welding Inspec­tion – WELD-CHECK

Using pulse thermography, WELD-CHECK enables you a quantitative assessment of the inspected welds.

Lock-in Ther­mo­graphy in Elec­tronics and Elec­trical Engin­eering

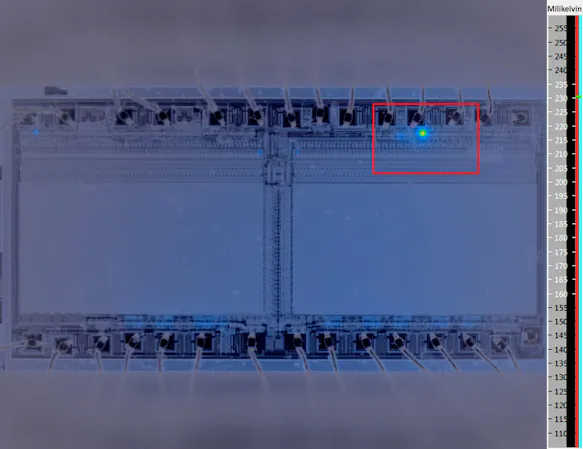
By means of lock-in analysis procedure of InfraTec's IRBIS® 3 active, errors that only cause mK or μK deviations can be reliably detected and assigned to their location:
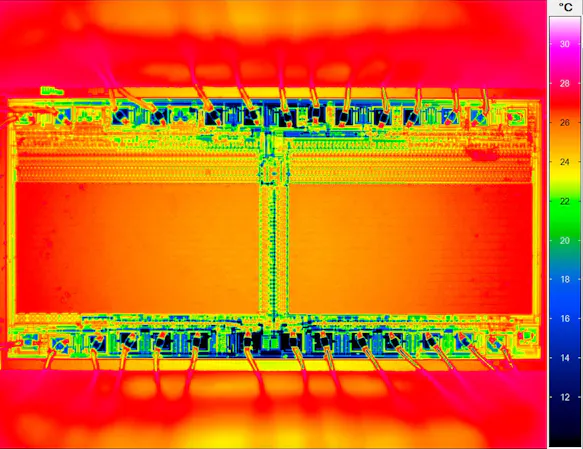
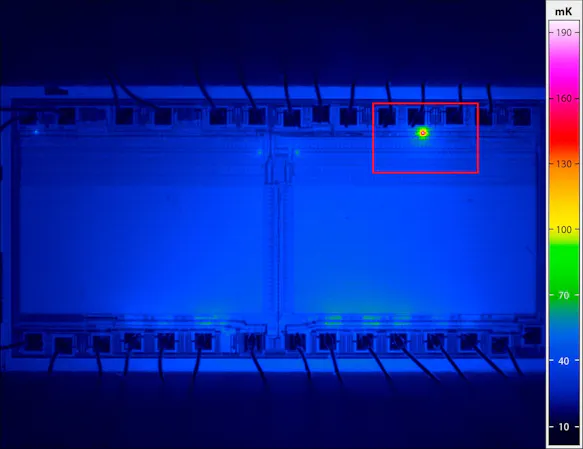
InfraTec Lock-in Thermography; Classical thermal imaging – defect not detectable
Classical thermal imaging – defect not detectable
InfraTec Lock-in Thermography; Amplitude image – analysis by Lock-in Thermography
Amplitude image – analysis by Lock-in Thermography
InfraTec Lock-in Thermography; Combination of live and amplitude image
Combination of live and amplitude image

Infrared Cameras with Highest Preci­sion

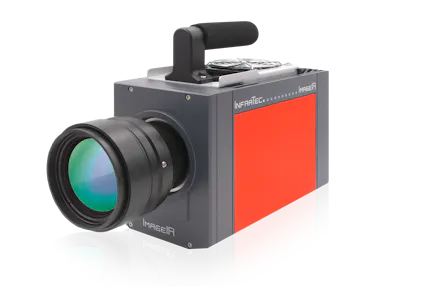
Cooled high-end infrared cameras with fast photon detectors of the ImageIR® series and non-cooled microbolometer cameras of the latest VarioCAM® High Definition generation are used for active thermography.

Geometric resolutions of up to (1,280 x 1,024) IR pixels and thermal resolutions far below 0.015 K are a precise technical basis for the detection of smallest material defects. High image acquisition frequencies allow for measurements of materials with high heat conductivity, such as metals. We also offer an extensive assortment of lenses and optics to image large test objects as well as microscopic structures.
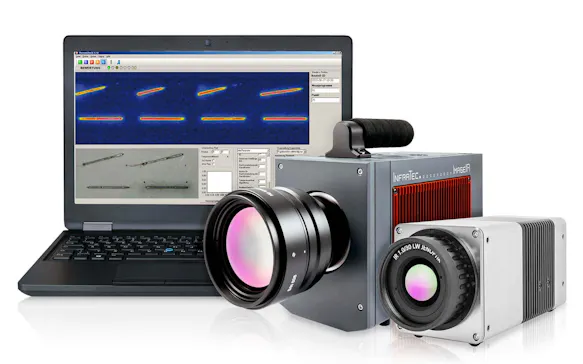
InfraTec thermography with camera series ImageIR® 10300 and VarioCAM®
Contact to thermography division of InfraTec

Would You Like to Know More?

It is not unusual for tasks to be associated with special requirements. Discuss your specific application needs with our specialists, receive further technical information or learn more about our additional services.

Europe & Rest of World
InfraTec GmbH Infrarotsensorik und MesstechnikGostritzer Straße 61 - 6301217 DresdenGERMANY

Case Studies about Active Ther­mo­graphy

InfraTec Uni Bayreuth - Analysis of the Thermal Conductivity

Analysis of the Thermal Conduct­ivity in Nano- and Meso­struc­tured Polymer Systems

New materials with precisely controlled optical and thermal transport characteristics can make a large contribution to resource-saving thermal management. Scientists of the University of Bayreuth are pursuing this vision. They use infrared thermography to quantitatively determine thermal conductivity in nano- and mesostructured polymer materials.

Thermal Stress Analysis of Metals, picture credit: © iStock.com / kimtaro

Thermal Stress Analysis of Metals

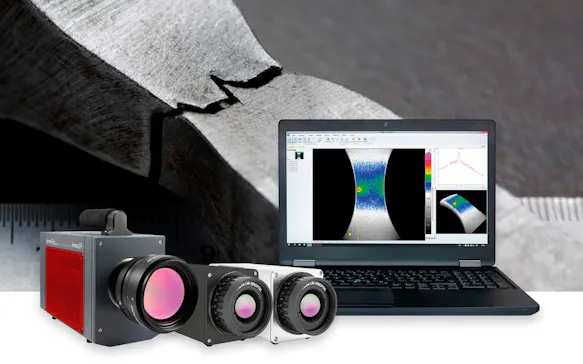
Stress changes during tensile testing provide information about material properties of metals such as tensile strength. With the help of thermographic cameras metallic solid bodies can be tested for such stress changes.

InfraTec/GOM Webinar

Combin­a­tion of Digital Image Correl­a­tion and Ther­mo­graphic Meas­ure­ments

The combination of measuring results from the digital image correlation (ARAMIS, DIC) and temperature measuring data from infrared cameras enables the simultaneous analysis of the thermal and mechanical behavior of test specimens in the materials and components testing field.

Quality Assurance with Active Thermography

Quality Assur­ance with Active Ther­mo­graphy in Series Test at Zwickau Volk­swagen Plant

Non-destructive testing methods are becoming increasingly more important in the industry. One reason is that they cost much less than other test methods. As a very elegant method, the active heat flow thermography method is now firmly established as a powerful method of non-contact and non-destructive testing of products of different manufacturing technologies.

Effi­cient Control and Analysis Soft­ware for Active Ther­mo­graphy

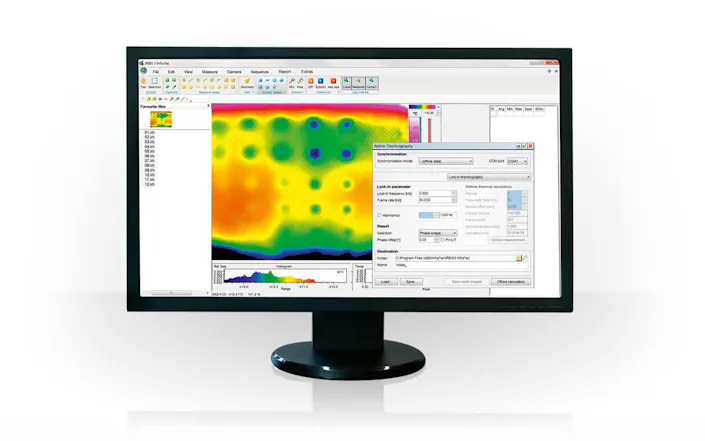
Active thermography software IRBIS 3

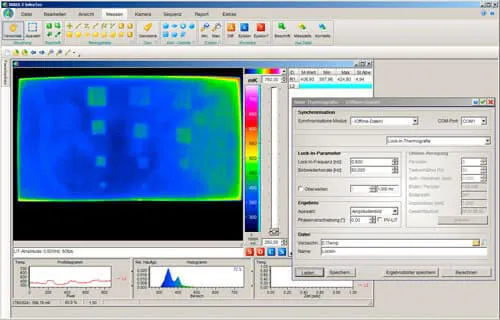
The thermography software IRBIS® 3 active analyses the thermo-graphic sequences, which have been generated during the test, and edits them to create a false colour image, in which defects can be marked for further evaluation or documentation. For this purpose, several different analysis procedures are available. The choice of the correct algorithm depends on the material characteristics, geometry and type of defects to be detected.

While the quotient method investigates the heat flow of the test object by reference to the increase and decrease of the surface temperature, the pulse-phase thermography (PPT) relies on the analysis of the temperature profile of different frequencies. For each frequency, two event images are generated, one amplitude- and one phase image. The lock-in thermography (LIT) analyses the sequence of periodic excitation of the test object.

Public­a­tions of our Customers

Lock-in Ther­mo­graphy for analy­zing solar cells and failure analysis in other elec­tronic compo­n­ents

Thermography automation system: PV-LIT

Optimizing thermographic testing of thick GFRP plates by assessing the real energy absorbed within the material

Infrared camera: ImageIR® 9300

Nondestructive testing by using long-wave infrared interferometric techniques with CO2 lasers and microbolometer arrays

Infrared camera: VarioCAM® hr

Thermal shock behaviour of laminated multilayer refractories for steel casting applications reinforced by residual stresses

Infrared camera: VarioCAM® hr

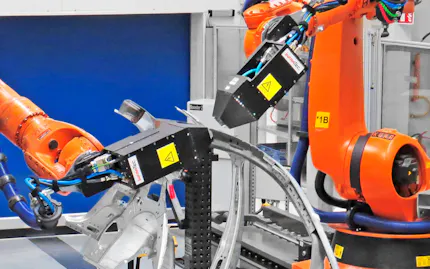
Autonomous Robotic System for Thermographic Detection of Defects in upper Layers of Carbon Fiber Reinforced Polymers

Infrared camera: ImageIR® Series

Non-destructive inspection of aircraft composite materials using triple IR imaging

Infrared camera: ImageIR® 5300 & VarioCAM® hr head 600

Passive impulse thermography during quasi-static tensile tests of fiber reinforced composites

Infrared camera: ImageIR® 8300 hp series

Thermografie mit optimierter Anregung für die quantitative Untersuchung von Delaminationen in kohlenstofffaserverstärkten Kunststoffen

Infrared camera: ImageIR® 8800

Review of thermal imaging systems in composite defect detection

Infrared cameras: ImageIR® 8300 and ImageIR® 8800

Lock-in Thermography for the Development of New Materials

Infrared camera: ImageIR® 8300

Konzep­tion und Aufbau einer robotergestützten Platt­form für optisch angeregte Wärme­fluss-Ther­mo­grafie

Infrared camera: ImageIR® 8300

Ther­mo­grafische Laser­naht­prü­fung von Mehrblech-Verbindungen im Auto­mobil-Karos­ser­iebau

Infrared camera: ImageIR® 5300

Transiente Methoden der Infrarot-Thermografie zur zerstörungsfreien Fehleranalytik in der mikroelektronischen Aufbau- und Verbindungstechnik

Infrared camera: ImageIR® 8300

Infrared ther­mo­metry of alpine land­scapes chal­lenges climatic warming projec­tions (Abstract)

Infrared camera: VarioCAM® series

NDT Damage Diagnosis on Sand­stone – The Case Study of Gelnhausen, Germany

A reference-free micro defect visualization using pulse laser scanning thermography and image processing

Infrared camera: ImageIR® 8300 series

Optim­ized Data Acquis­i­tion with the IGI DigiTHERM Thermal Camera System

Plasticity induced heating – an underestimated effect in monotonic and cyclic deformation

Infrared camera: ImageIR® 8300 hp

Lock-In Measurement

E-LIT watch the Video

Advant­ages of this Ther­mo­graphy Solu­tions in this Applic­a­tion

Thermografie-Kameraserie ImageIR® mit neuer 10 GigE-Schnittstelle

10 GigE Inter­face for a Strong Increase in Output

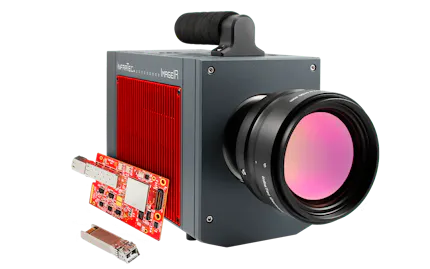
The 10 Gigabit Ethernet interface of the high-end camera series ImageIR® opens this extremely fast transmission standard with a NIC specially developed by InfraTec. This works with optical or electrical transceiver modules that are easy to change and are called SFP+.

InfraTec glossary - Rotating filter- und aperture wheel

Separate Filter & Aper­ture Wheel – Spec­tral Ther­mo­graphy

The combination of a separate filter and aperture wheel, allowing a total of 35 freely selectable combinations, is prerequisite for an universal application in measurement tasks with high object temperatures and in the field of spectral thermography. The neutral density filters used for signal attenuation or the combination of spectral filters and apertures reliably prevent interference effects.

InfraTec thermography - Geometrical Resolution

Geomet­rical Resol­u­tion – Effi­cient Analysis of Complex Assem­blies

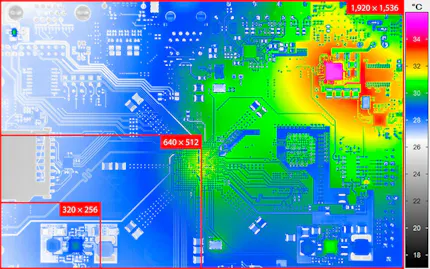
InfraTec's infrared cameras with cooled and uncooled detectors have native resolutions up to (1,920 × 1,536) IR pixels. Spatially high-resolution thermograms ensure that components and assemblies are imaged down to the smallest detail and thus defects can be reliably detected and precisely localised.

InfraTec thermography - Thermal resolution

Thermal Resol­u­tion – Determ­in­a­tion of Differ­ences of Only a Few Millikelvin

For detection of small temperature changes InfraTec's infrared cameras offer thermal resolutions up to < 15 mK in real-time operation. By using the Lock-in Thermography method it is possible to further increase this resolution significantly. For this purpose test objects are periodically excited and non-destructively examined for defects and irregularities.

Integ­rated Trigger / Process Inter­face and Inter­faces – Digit­ally Controlling of a Infrared Camera and External Devices

The internal trigger interface guarantees highly precise, repeatable triggering. Each of the two configurable digital inputs and outputs are used to control the camera or to generate digital control signals for external devices. In this way, for example, the operation of a printed circuit board and the interval of a measurement can be synchronised.

The selection of different camera interfaces allows the processing of analog data, such as the voltage directly through the camera and thus the insertion of this information into the thermal image data. Relevant variables can be included in the evaluations with the software, which makes it easier to draw conclusions about the causes of temperature changes.

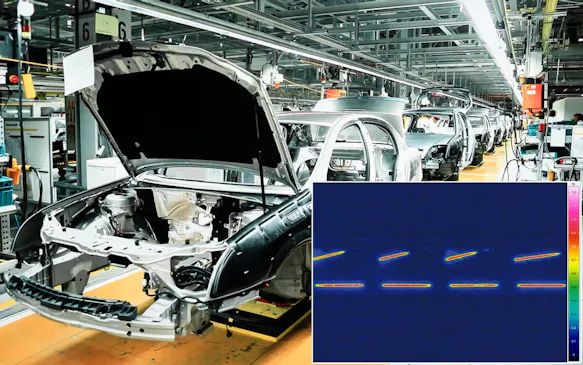
Active thermography in automotive industry - Picture Credits: © Rainer / Fotolia.com

Applic­a­tions of Active Ther­mo­graphy

Active thermography is applied in most diverse manufacturing technologies for offline testing as well as inline testing of series production.

  • Detection of layer structures, delaminations and inserts in plastics

  • Detection in CFRPs of the automotive and aerospace industry

  • Investigation of interior structures or impacts on honeycomb lightweight constructions

  • Recognition of deeper material deficiencies, such as blowholes in plastic parts or ruptured laser welding seams

Product Flyer

Get all the information you need at a glance in our product flyers
InfraTec active thermography flyer

Infrared Cameras for Active Ther­mo­graphy Applic­a­tions

InfraTec Infrared camera
Zoom Cameras

ImageIR® 6300 Z

Image Format(640 x 512) IR-Pixel
Detector typeXBn

InfraTec Infrared camera
High-end Cameras

ImageIR® 8300 hs

Image Format(640 x 512) IR-Pixel
Detector typeT2SLS or InSb

InfraTec Infrared camera
High-end Cameras

ImageIR® 9400 hp

Image Format(2,560 x 2,048) IR-Pixel
Detector typeInSb

InfraTec Infrared camera
High-end Cameras

ImageIR® 10300

Image Format(1,920 x 1,536) IR-Pixel
Detector typeInSb

InfraTec Infrared camera
Compact Cameras

PIR uc 605

Image Format(640 x 480) IR-Pixel
Detector typeUncooled Microbolometer Focal Plane Array

InfraTec Infrared camera
High-end Cameras

ImageIR® 9500

Image Format(2,560 x 1,440) IR-Pixel
Detector typeMCT

InfraTec Infrared camera
High-end Cameras

ImageIR® 9400

Image Format(2,560 x 2,048) IR-Pixel
Detector typeInSb

InfraTec Infrared camera
System Cameras

VarioCAM® HDx head S

Image Format(640 x 480) IR-Pixel
Detector typeUncooled Microbolometer Focal Plane Array

InfraTec Infrared camera
System Cameras

VarioCAM® HDx head Lock-in

Image Format(640 x 480) IR-Pixel
Detector typeUncooled Microbolometer Focal Plane Array

Asso­ci­ated Indus­tries & Applic­a­tions

thermal imaging for material testing

Material Testing

Save time and costs by non-destructively testing components with infrared camera systems by InfraTec.

thermal imaging in electronics

Elec­tronics & Elec­trical Engin­eering

Measure temperature distributions of smallest electronic components with infrared cameras.

All branches and application areas