1. Thermal Imaging
  2. Investment-Proof Testing Procedure at VW
Process control with INDU-SCAN

Investment-Proof Testing Procedure at Volkswagen

The Department of Quality Assurance for Joining Technology in Car Body Construction at Volkswagen Sachsen GmbH's plant in Zwickau and InfraTec have jointly developed a test procedure for laser weld seams on car body parts and have been using it successfully in practice for several years. When electric vehicles went into production, the joining process was replaced by resistance spot welding. The INDU-SCAN test bench already in operation was converted using existing technology and modernised with intelligent algorithms and robot technology to enable quality control of the joined sheet metal parts. Following a successful pilot phase, the technology is now in series production for electric cars at the Zwickau vehicle plant.

Test cell at VW

Long Years of Cooperation in Quality Assurance

InfraTec and Volkswagen Sachsen have been working together since 2007 on non-destructive methods for quality assurance in car body construction. Supported by other partners, the two companies built a test station for thermographic quality control of laser welds. In 2018, VW began converting its plant in Zwickau-Mosel to produce a new generation of electric cars based on the ‘modular electric drive kit’. In this context, the decision was made to no longer weld the body parts of battery-electric vehicles using lasers but instead using the resistance spot welding process. This raised the question of whether the existing thermal imaging system could continue to be used as part of an INDU-SCAN solution.

Download Case Study

InfraTec Solution

Volkswagen Sachsen GmbH
Quality assurance in joining technology for car body construction
Vehicle plant, Zwickau

www.volkswagen-sachsen.de

Automation solution / Thermal imaging system:
INDU-SCAN / ImageIR® 8300 hp infrared camera

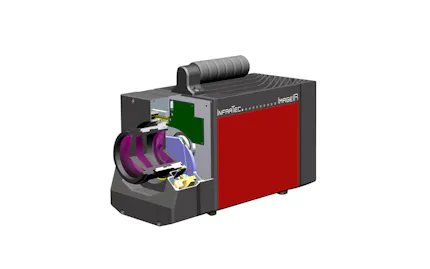
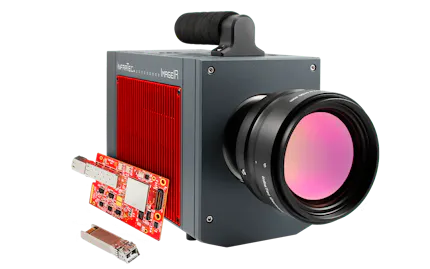
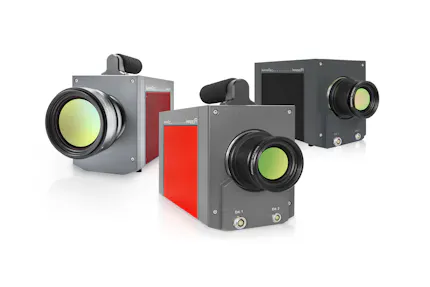
The experts from VW and InfraTec then worked together to modernise the existing thermography testing system, which had been designed for quality assurance in laser welding. For this purpose, the system was equipped with new state-of-the-art components, and the flash unit was adapted to the changed requirements. This includes, for example, the more powerful ImageIR® 8300 hp infrared camera. In addition, intelligent algorithms were integrated to evaluate the enormous amounts of data generated by the increasingly complex thermograms.

Resistance spot welding
Fig. 2: Resistance spot welding (© Wikipedia, Volkswagen Sachsen GmbH)

Active Thermography Monitors Joint Quality

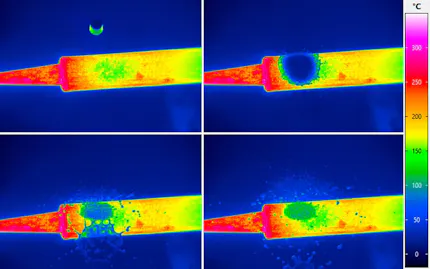
In resistance spot welding, two electrodes are pressed onto the car body parts to be joined with high force from both sides and electrical energy with a current of several thousand amps is fed into the steel. Due to the ohmic resistance that the metal opposes to the flow of current, heat is generated, which melts the metal at the contact points in a lens shape. When the electrodes are removed, this lens cools down after a few seconds and the sheets are joined together at the points.

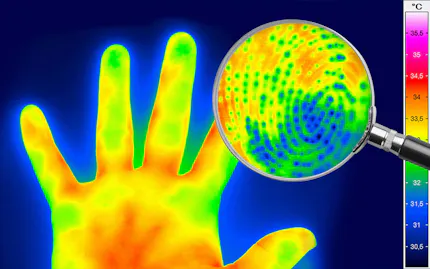
Active thermographic quality testing of the joint is performed in transmissive mode: The thermal energy introduced into the workpiece by flash excitation is transported through the material by heat conduction and the temperature on the opposite side of the joined car body panels is measured. Pixel by pixel, the infrared camera determines the heat distribution curves for the flat weld spot.

The connection quality of the spot weld is guaranteed if the temperature is above a predefined threshold value at a specified evaluation time. Specially developed software then provides the most uniform image possible of the weld spot. Its boundaries are clearly visible in the display, as are inclusions, impurities and other defects.

Schematic diagram of the test setup
Fig. 3: Schematic diagram of the test setup (© Volkswagen Sachsen GmbH)

Measuring Unit with Industrial Robots

To test entire vehicles using this method, the INDU-SCAN measuring station was equipped with two industrial robots that can be positioned on traversing axes. An infrared camera is attached to the freely movable arm of one robot, and the flash head is attached to the arm of the other. The generator required to produce the flash travels on the foot of the second robot.

“This is the world's first thermographic solution for testing resistance weld spots in large-scale automotive production in an automated, contact-free manner,” estimates the head of quality assurance in vehicle manufacturing. The new technology, he says, is four times faster, but also more ergonomic and effective than previous testing methods for such weld spots. “This is a minor revolution for the industry.”

INDU-SCAN Beats Ultrasound

The highly automated, thermographic quality assurance of the weld points is in many respects significantly superior to the manual ultrasonic testing previously used in car body construction. The latter can only be carried out at random and is often strenuous, as the testers must work overhead again and again. Attempts to automate ultrasonic testing have repeatedly failed in the past.

Thermograms of connected and unconnected weld points
Fig. 4: Thermograms of connected and unconnected weld points (© Volkswagen Sachsen GmbH)

Moreover, the INDU-SCAN solution is significantly faster: Whereas ultrasonic testers usually needed 30 to 40 seconds to manually analyse a weld spot, the thermal imaging inspection station only needs five to ten seconds for each weld spot analysed. This means that around 1,500 weld spots can be inspected per shift instead of only 500 to 600. That, in turn, allows for more random samples, ensures consistently high quality, and gives production plant operators the chance to take corrective action in good time if problems arise in production.

Focus on Further Development

The quality assurance process developed by VW and InfraTec can be used not only for electric car production, but in any factory that uses resistance spot welding. Together with InfraTec, the experts in Zwickau want to further improve and accelerate the new process. Their goal is an ‘inline’ solution in which random samples are no longer taken at delayed intervals, but instead the quality of the weld spots is assessed in real time during ongoing car production.
Learn more about ImageIR® 8300 hp

Learn more about the automation solution INDU-SCAN

Advant­ages of this Ther­mo­graphy Solu­tions in this Applic­a­tion

InfraTec thermography - Geometrical Resolution

Geomet­rical Resol­u­tion – Effi­cient Analysis of Complex Assem­blies

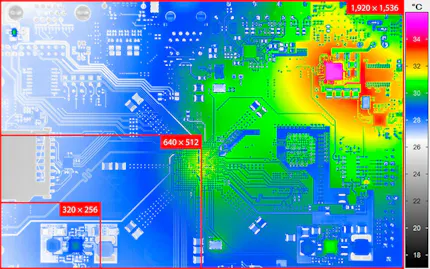
InfraTec's infrared cameras with cooled and uncooled detectors have native resolutions up to (2,560 × 2,048) IR pixels. Spatially high-resolution thermograms ensure that components and assemblies are imaged down to the smallest detail and thus defects can be reliably detected and precisely localised.

InfraTec glossary - Rotating filter- und aperture wheel

Separate Filter & Aper­ture Wheel

Measurement of High Temperatures & Spectral Ranges

Up to two individually combinable wheels equipped with filters and apertures allow the camera sensitivity to be adjusted to the specific requirements of demanding measurement tasks.

InfraTec glossary about motor focus

Motor Focus for ImageIR® Lenses

Remote-Controlled Focussing of the Thermal Image

Interchangeable standard lenses in the ImageIR® series can be equipped with a motor focus unit. This enables precise, remote-controlled and fast focussing via the operating software.

Thermal image during ignition of an airbag  Image Small

Window Mode (Subwin­dowing)

Fast Measurements in Defined Subsections

Capture very fast temperature and motion sequences in full, half, quarter and sub modes, as well as in sub image formats defined by click-and-drag, using high frame rates.

MicroScan feature ImageIR

Micro­Scan Function

Quadruple Geometrical Resolution

By using a fast-rotating MicroScan wheel, the number of pixels used can be quadrupled compared to the native pixel count of the FPA detector, significantly improving image quality.

30 years of InfraTec

Stability and Independence

InfraTec is an established, medium-sized family business. Since our founding in 1991, we have pursued a strategy that prioritizes the independence and stability of the company over rapid growth. We will continue to follow this path in the future. As a customer-oriented family business focused on technology and quality leadership.

"Since our foundation, we have followed a corporate strategy whose basic principles have been expanded over the years, but the independence and autonomy of the company continue to take priority over growth. We therefore continue to rely on traditional corporate financing that won't make us dependent on investors. Maintaining a “family-oriented” corporate culture is important to our generation of entrepreneurs, even though new forms of cooperation are playing an increasingly important role in the modern world of work." Dr. Matthias Heinze, managing partner and co-founder of InfraTec.

Thermografie-Kameraserie ImageIR® mit neuer 10 GigE-Schnittstelle

10 GigE Inter­face

Ultra-Fast Data Transfer

High-resolution detectors and high frame rates generate large amounts of data. With the 10 Gigabit Ethernet interface, this data can be transferred quickly, reliably and without loss.

InfraTec glossary modules

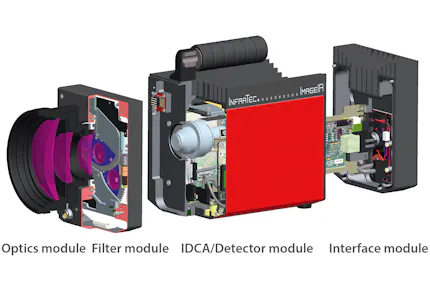
Modular Concept for Higher Flex­ib­ility

Customised Configuration and Retrofitting

Due to their modular design, the cameras in the ImageIR® series can be adapted to user requirements and retrofitted or converted if measurement requirements change.

InfraTec thermography - High-speed Mode

High-speed Mode (Binning)

Faster Measurement with a Constant Field of View

Due to binning technology, infrared cameras have an additional high-speed mode in which the frame rate increases to more than three times and the thermal resolution can be doubled.

infratec-thermography-imageir

High-end Camera Series ImageIR®

High-End Cameras with Cooled Photon Detectors

Excellent thermal resolution, high-quality lenses, high measurement speed: InfraTec's ImageIR® series of infrared cameras meet the highest standards in industryy, research and science.

Relevant Indus­tries & Applic­a­tions